Embarking on the journey of creating your own sourdough starter is a rewarding experience that connects you to centuries of baking tradition. A sourdough starter is a live culture of wild yeast and bacteria cultivated from just flour and water. Over time, this mixture ferments, developing the natural leavening power and distinctive tangy flavor characteristic of sourdough bread. Here’s a comprehensive guide to help you craft and maintain your own starter.
Understanding the Sourdough Starter
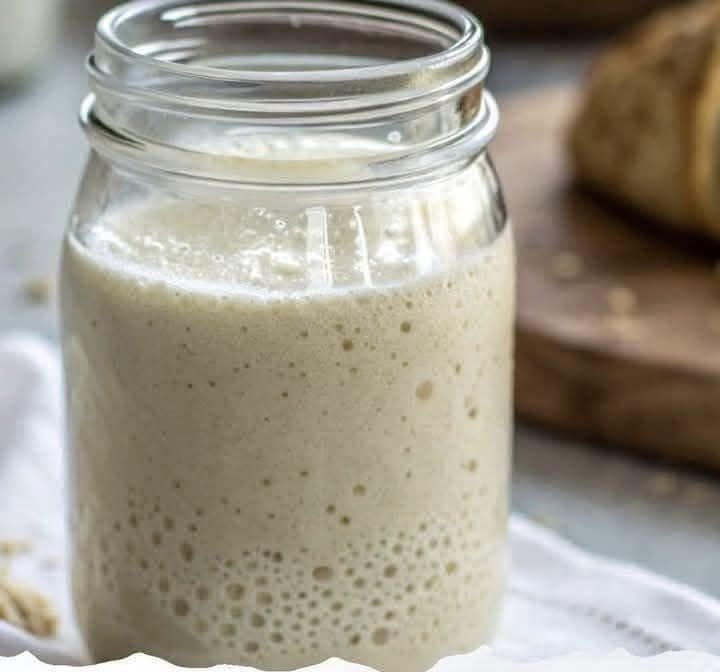
A sourdough starter is a fermented mixture of flour and water that harnesses wild yeast and bacteria from your environment. This natural leavening agent not only helps your bread rise but also imparts a unique depth of flavor. Unlike commercial yeast, a sourdough starter evolves over time, reflecting the conditions of your kitchen and the flour you use.
Ingredients:
1 cup (120g) whole wheat flour
1/2 cup (120g) water
1 tablespoon sugar or honey
Instructions:
- Initial Mix: In a clean glass jar or bowl, combine 1 cup of whole wheat flour with 1/2 cup of water. Add 1 tablespoon of sugar or honey to the mixture. Stir thoroughly until no dry lumps remain.
- Rest: Cover the jar loosely with a lid or cloth and let it sit at room temperature for 24 hours.
- First Feeding: After 24 hours, you may notice some bubbling or a slight rise. Discard half of the starter mixture (about 113g), and to the remaining starter, add 113g of unbleached all-purpose flour and 113g of water. Mix well, cover, and let it rest at room temperature for another 24 hours.
- Daily Feedings: Repeat the feeding process every 24 hours for the next 5 to 7 days. As the starter matures, it will become more bubbly and develop a pleasant sour aroma.
- Transition to Maintenance: Once the starter is active and bubbly, you can switch to feeding it twice daily, approximately 12 hours apart. This involves discarding half of the starter and replenishing it with fresh flour and water.
Tips for a Successful Starter:
Flour Choice: Starting with whole wheat flour can jumpstart the fermentation process due to its higher nutrient content. After a few days, you can transition to unbleached all-purpose flour for a milder flavor.
Water Quality: Use filtered or dechlorinated water, as chlorine can inhibit yeast growth.
Temperature: Maintain a consistent room temperature between 70-75°F (21-24°C) for optimal fermentation.
Patience: The development of a sourdough starter is a natural process that varies based on environmental factors. Some starters may take longer to become fully active.
Maintaining Your Starter:
Once established, a sourdough starter requires regular feedings to keep the yeast and bacteria healthy. If you bake frequently, you can continue with daily feedings at room temperature. For less frequent baking, storing the starter in the refrigerator and feeding it once a week is sufficient.
Creative Uses for Sourdough Starter Discard:
Instead of discarding excess starter, consider using it in various recipes to minimize waste and add unique flavors. Here are some ideas:
Pancakes or Waffles: Incorporate starter discard into your batter for extra fluffiness and tang.
Crackers: Mix with herbs and bake for a crunchy snack.
Muffins or Quick Breads: Add to your batter for improved texture and flavor.
Pizza Dough: Use as a base for a flavorful crust.
For a comprehensive list of recipes utilizing sourdough starter discard, explore this collection.
Embarking on the sourdough starter journey is both an art and a science. With attention to detail and a bit of patience, you’ll soon enjoy baking bread that’s not only delicious but also a testament to your dedication and connection to a time-honored tradition.