There is something incredibly satisfying about making your own fruit syrups at home. Not only do you control the sugar content and avoid artificial preservatives, but the flavor is exponentially more vibrant than anything you can buy in a store.
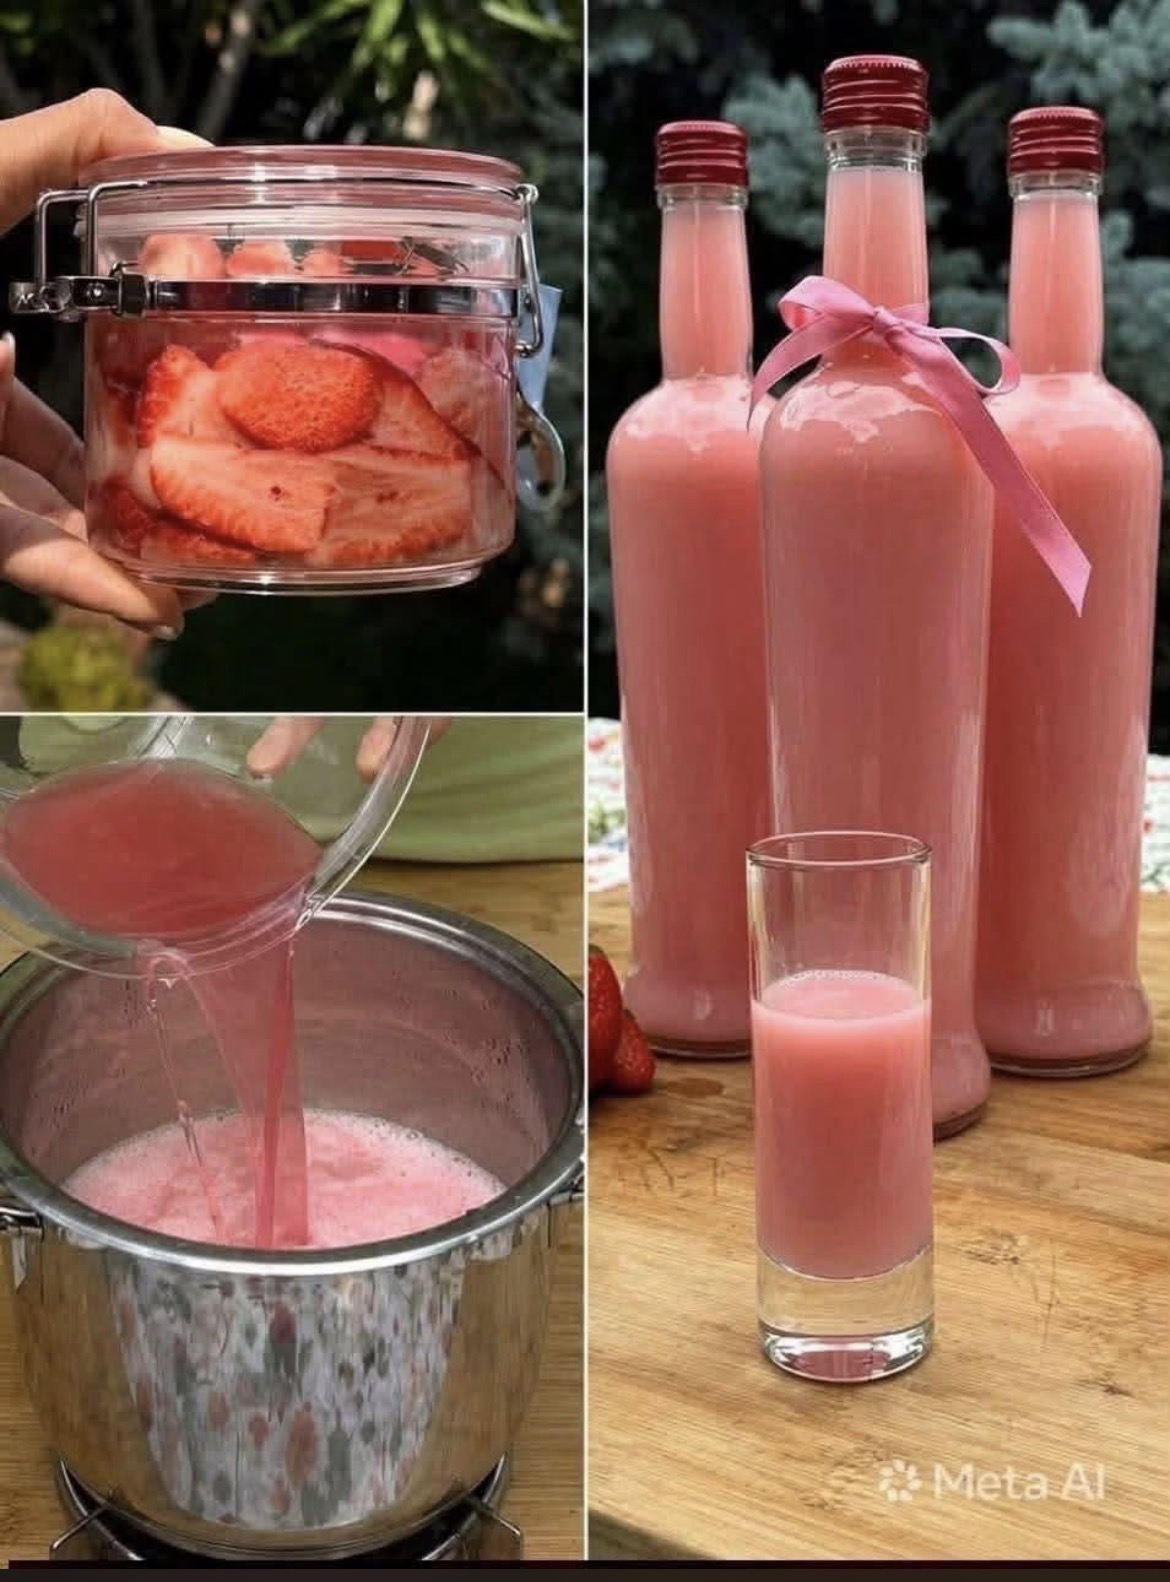
The image above captures the beautiful, multi-step process of turning fresh strawberries into a stunning, translucent pink elixir. Whether you want to use it as a base for summer cocktails, a flavoring for homemade sodas, or a drizzle for pancakes and desserts, this strawberry syrup is a versatile kitchen staple.
The Process Explained
The visual guide shows three distinct stages:
- Macerating (Top Left): Fresh sliced strawberries are layered with sugar in a glass jar. Over time, the sugar draws out the natural juices through osmosis, creating a vibrant red syrup.
- Extracting & Heating (Bottom Left): The mixture is strained to remove the fruit solids, and the resulting juice is poured into a pot to be gently heated. This step dissolves any remaining sugar and pasteurizes the syrup, ensuring it lasts longer.
- Bottling (Right): The finished, cooled syrup is poured into elegant glass bottles. The image shows it being presented both in bulk bottles and a single shot glass, ready to be enjoyed.
Note: While the image shows the syrup being bottled without alcohol, this recipe can easily be turned into a strawberry liqueur by adding vodka or neutral grain spirit after the heating process.
The Recipe: Homemade Strawberry Syrup
Prep time: 20 minutes
Infusion time: 24 hours
Cook time: 10 minutes
Yield: Approximately 2 cups of syrup
Ingredients
· 1 lb (450g) fresh strawberries (hulled and sliced)
· 1 cup (200g) granulated sugar (adjust to taste)
· 1 cup (240ml) water
· 1 tbsp lemon juice (this helps preserve the bright color and balances the sweetness)
Instructions
Step 1: Macerate the Strawberries
In a large glass jar or bowl, combine the sliced strawberries and the sugar. Stir gently to coat the berries. Cover the container and let it sit at room temperature for 2 to 4 hours (or overnight in the refrigerator). You will notice the strawberries have released a significant amount of juice, and the sugar has mostly dissolved.
Step 2: Simmer the Mixture
Transfer the strawberry and sugar mixture into a medium saucepan. Add the water and lemon juice. Bring the mixture to a gentle simmer over medium heat. Let it simmer for about 5 to 10 minutes. Do not boil vigorously, as this can dull the bright red color and cook the fruit too much.
Step 3: Strain
Remove the pot from the heat and let it cool slightly. Place a fine-mesh strainer over a large bowl (or a large measuring cup for easy pouring). Pour the mixture through the strainer.
· Chef’s Tip: Do not press down hard on the fruit solids with a spoon. Let gravity do the work. Pressing too hard will release pulp, making your syrup cloudy. If you want a crystal-clear syrup like the one in the image, be patient!
Step 4: Bottle and Store
Funnel the strained, warm syrup into clean glass bottles. Allow them to cool completely at room temperature before sealing them with a lid.
Step 5: Store
Store your finished strawberry syrup in the refrigerator. It will keep for about 2 to 3 weeks.
How to Make it a Liqueur (Optional)
If you want to make Strawberry Liqueur (as the elegant bottles suggest), follow all the steps above, but let the syrup cool completely. Once cooled, mix the syrup with an equal part of vodka or white rum. Seal the bottles and store them in a cool, dark place for two weeks to let the flavors meld.
Serving Suggestions
· Strawberry Lemonade: Mix 2 tablespoons of syrup with fresh lemonade.
· Cocktails: Add a splash to Prosecco, gin, or vodka sodas.
· Desserts: Drizzle over vanilla ice cream, cheesecake, or pancakes.
· Mocktails: Mix with sparkling water and a squeeze of lime for a refreshing summer drink