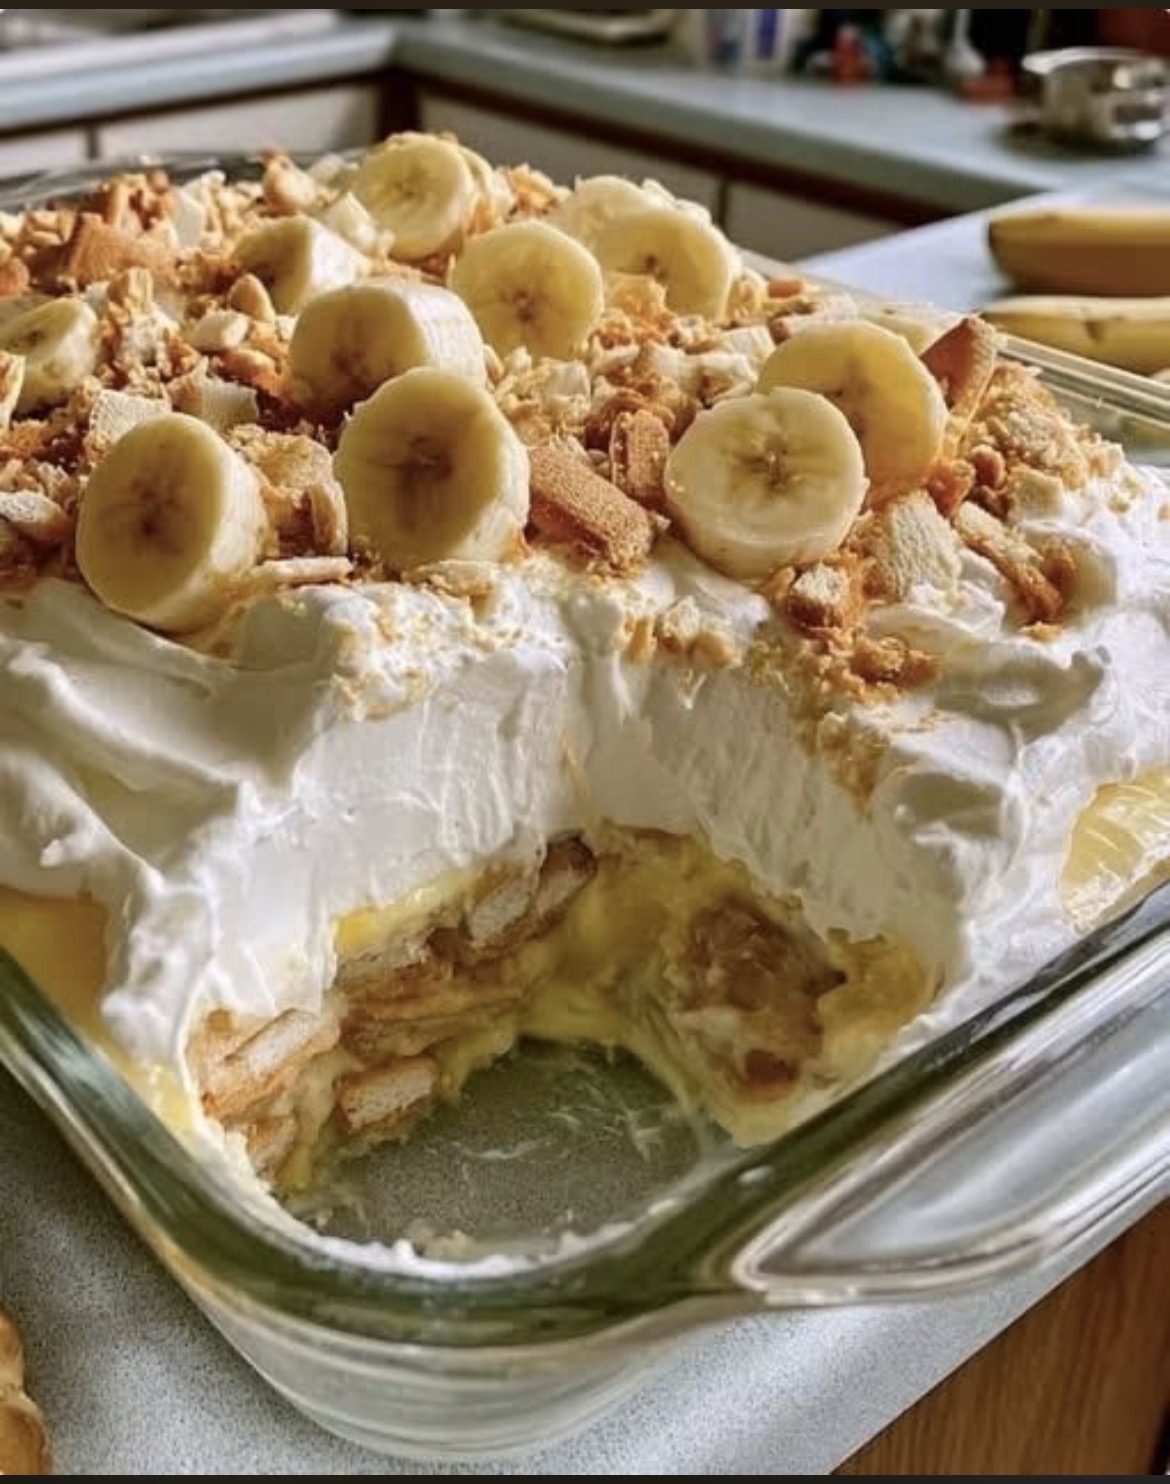
There are few desserts that evoke the warmth of a Southern kitchen quite like Banana Pudding. Unlike the stovetop puddings of our grandmothers, this Layered No-Bake Banana Pudding offers the same incredible flavor with a fraction of the fuss.
As you can see in the photo, the magic happens in the layers: the bottom is studded with soft, soaked Nilla wafers that have soaked up the sweet pudding. The middle is a silky, custard-like banana cream. The crowning glory is a sky-high pile of fluffy whipped cream (or meringue), garnished with fresh banana slices and plenty of crushed wafers for that essential crunch.
This is the perfect dish for potlucks, family reunions, or just a quiet night in. It tastes best when made ahead of time so the cookies have a chance to soften into a cake-like texture. Let’s dive into the recipe.
Full Recipe: Classic Layered Banana Pudding
Prep Time: 20 minutes
Chill Time: Minimum 4 hours (preferably overnight)
Servings: 12-16 people
Equipment
· 9×13-inch glass or ceramic baking dish
· Large mixing bowls
· Hand mixer or stand mixer
Ingredients
For the Pudding Layer:
· 1 (5.1 oz) box instant vanilla pudding mix (or 2 small 3.4 oz boxes)
· 2 cups cold milk
· 1 (14 oz) can sweetened condensed milk
· 1 (8 oz) block cream cheese, softened to room temperature
· 1 teaspoon vanilla extract
For the Layers and Topping:
· 1 (12 oz) box vanilla wafers (like Nilla Wafers) + extra for crushing
· 5-6 large ripe bananas (sliced into ¼-inch thick rounds)
· 2 cups heavy whipping cream (or 1 tub of Cool Whip, thawed)
· 3-4 tablespoons powdered sugar (if using whipped cream)
Instructions
Step 1: Prepare the Pudding Base
In a large bowl, beat the softened cream cheese and vanilla extract together with a hand mixer until smooth and creamy. Pour in the sweetened condensed milk and mix until fully combined.
In a separate bowl, whisk the vanilla pudding mix with the cold milk for about 2 minutes until it thickens. Fold the pudding mixture into the cream cheese mixture until smooth. Set aside.
Step 2: Assemble the Layers
Spread a thin layer of the pudding mixture on the bottom of your 9×13 dish. Cover the bottom with a single layer of vanilla wafers (don’t worry about gaps, they will expand as they soak). Top the wafers with half of the sliced bananas. Pour half of the remaining pudding mixture over the bananas and gently spread it evenly.
Repeat the layers: Add another layer of vanilla wafers, the rest of the sliced bananas, and top with the remaining pudding mixture. Smooth the top.
Step 3: Add the Topping
If using whipped cream: In a large chilled bowl, whip the heavy cream and powdered sugar on high speed until stiff peaks form. Spread this over the top of the pudding, going all the way to the edges.
(Alternative: Spread a tub of thawed Cool Whip over the top).
Step 4: Decorate and Chill
Crush about 10-12 extra vanilla wafers into coarse crumbs. Arrange your reserved banana slices on top of the whipped cream. Generously sprinkle the crushed cookies over the entire surface.
Step 5: The Crucial Rest
This is the most important step! Cover the dish with plastic wrap or a lid and refrigerate for at least 4 hours, but 8 hours or overnight is best. This resting time allows the hard wafers to absorb moisture from the pudding, turning into a soft, cake-like texture that makes this dessert so famous.
Serve chilled straight from the fridge. Store any leftovers covered in the fridge for up to 3 days (the bananas may brown slightly, so enjoy it fresh!).