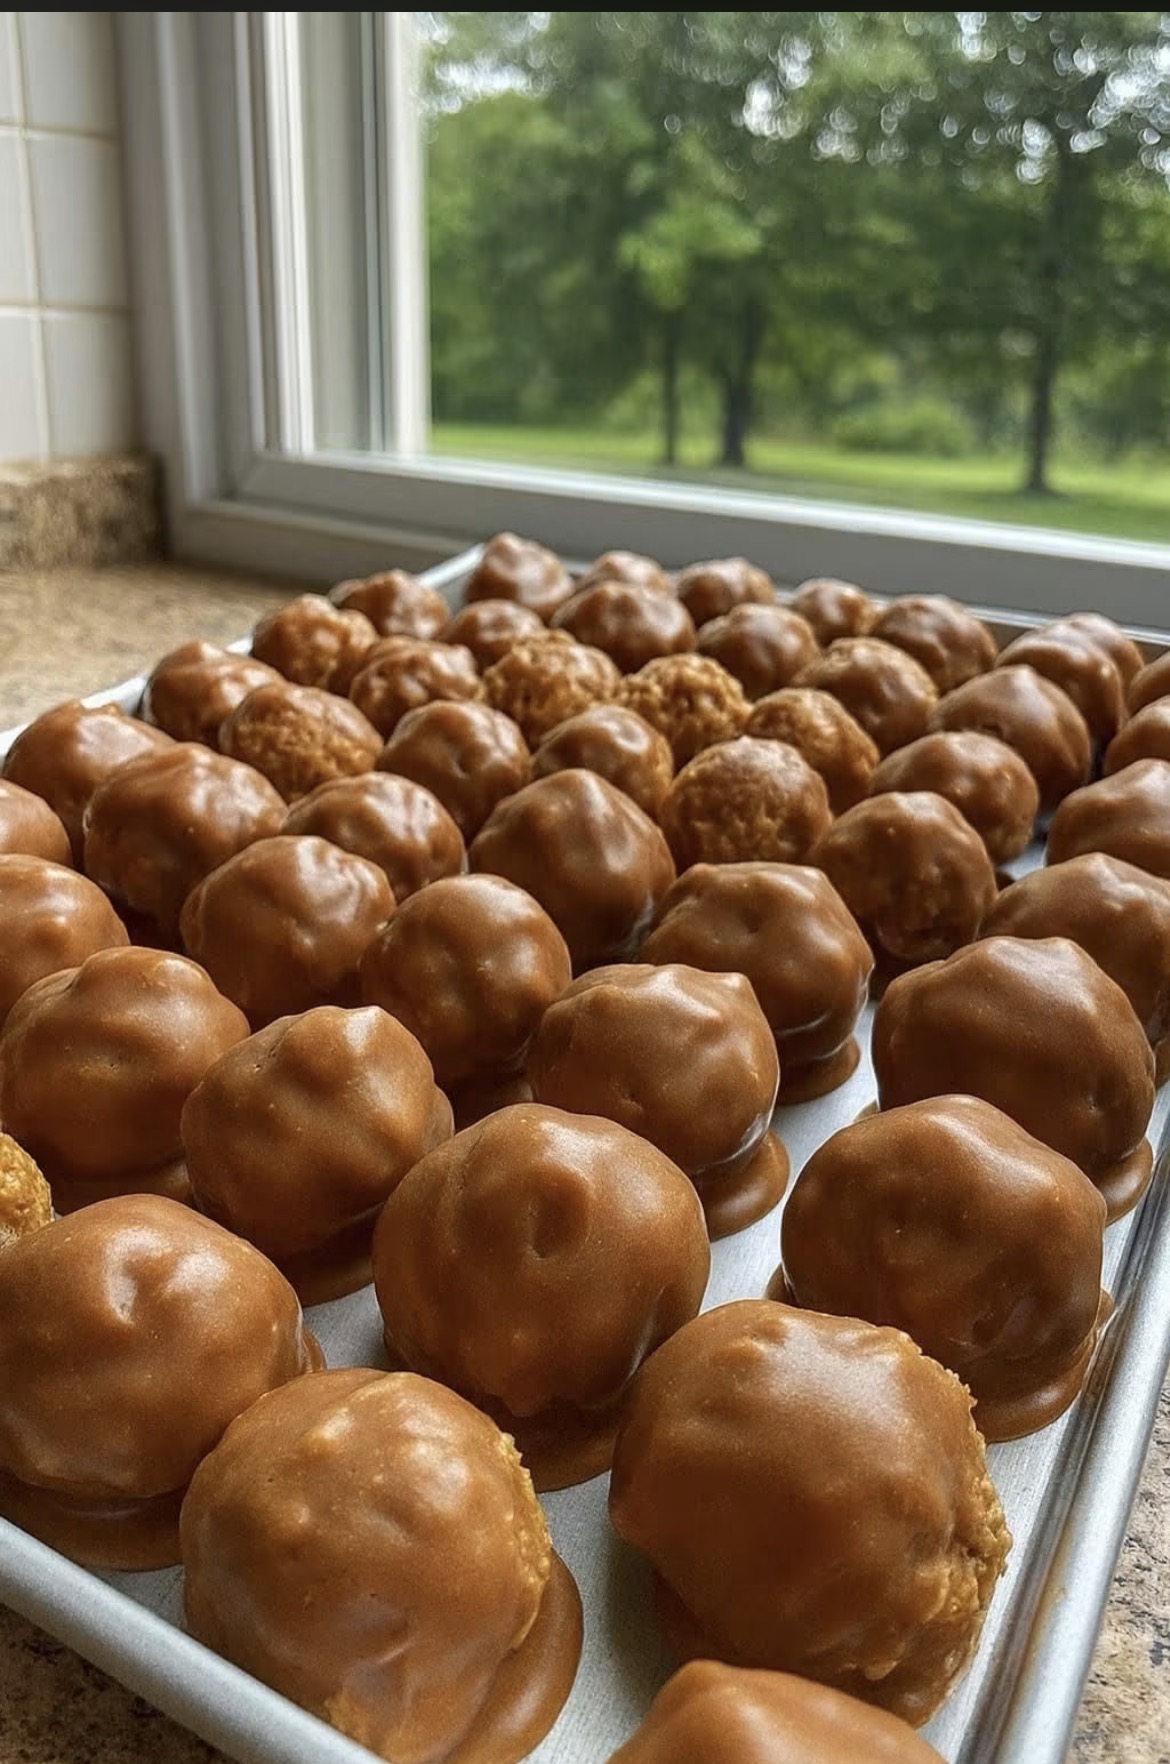
There is something deeply comforting about a maple glazed donut hole. It’s the perfect pop of sweetness—a two-bite treat that is simultaneously nostalgic and decadent. While you can find these at any major coffee shop chain, there is nothing quite like the taste of a fresh, warm donut hole that you’ve just pulled out of your own fryer.
The secret to the perfect donut hole lies in the chemistry of the dough. Unlike yeast donuts, which require hours of proofing, these rely on baking powder. This creates a dense, tender cake texture that acts as the ideal sponge for the glaze. The true star, however, is the glaze itself. By using real maple syrup and a touch of heavy cream, you achieve a lustrous, slightly caramelized sheen that hardens just enough to crackle when you bite into it, without ever becoming sticky or gritty. This recipe is designed to give you that professional bakery look right in your home kitchen.
Full Recipe: Classic Maple Glazed Cake Donut Holes
Yield: Approximately 24-30 donut holes
Prep time: 15 minutes
Cook time: 10 minutes
Total time: 25 minutes
Equipment Needed
· Large heavy-bottomed pot (Dutch oven works best)
· Candy/deep-fry thermometer
· Slotted spoon or spider strainer
· Wire cooling rack set over a baking sheet
· Mixing bowls
Ingredients
For the Cake Donut Holes:
· 2 cups all-purpose flour
· ½ cup granulated sugar
· 1 tablespoon baking powder
· ½ teaspoon salt
· ½ teaspoon ground cinnamon (optional, but adds warmth)
· 1 large egg, lightly beaten
· ¾ cup whole milk (or buttermilk for extra tenderness)
· ¼ cup unsalted butter, melted and slightly cooled
· 1 teaspoon vanilla extract
· Vegetable or Canola oil, for deep frying (approx. 2–3 inches deep)
For the Maple Glaze:
· 1 ½ cups powdered sugar (confectioners’ sugar), sifted
· ¼ cup pure maple syrup (do not use pancake syrup)
· 2 tablespoons heavy cream (plus more for consistency, if needed)
· ½ teaspoon vanilla extract
· Pinch of salt (to balance the sweetness)
Instructions
Step 1: Prepare the Dough
In a large bowl, whisk together the flour, sugar, baking powder, salt, and optional cinnamon. In a separate small bowl or measuring cup, whisk the egg, milk, melted butter, and vanilla extract.
Pour the wet ingredients into the dry ingredients. Using a spatula or wooden spoon, stir until just combined. Do not overmix! The dough will be thick, sticky, and slightly shaggy. Cover the bowl and let it rest for 15 minutes while you heat the oil. This resting period allows the gluten to relax, ensuring a softer donut.
Step 2: Heat the Oil
Fill your heavy pot with 2–3 inches of oil. Clip your candy thermometer to the side of the pot. Heat the oil over medium heat until it reaches 350°F (175°C). This is the “sweet spot”—too low, and the donuts absorb oil and become greasy; too high, and they will burn on the outside before cooking through.
Step 3: Form and Fry
Lightly flour your hands. Scoop a slightly rounded tablespoon of the dough (about 20–25 grams) and gently roll it into a smooth ball between your palms.
Carefully drop 4 to 6 dough balls into the hot oil at a time (do not overcrowd the pot). Fry for about 2–3 minutes per side, or until golden brown. Use your spider strainer to gently turn them over halfway.
Once done, remove with the slotted spoon and place them onto the wire rack to drain. Repeat with the remaining dough.
Step 4: Make the Glaze
While the donut holes are cooling slightly (you want them warm, not piping hot), make the glaze. In a shallow bowl that’s wide enough to dip the donuts, whisk together the sifted powdered sugar, pure maple syrup, heavy cream, vanilla, and salt. Whisk until completely smooth and the consistency of thick honey. If it is too thick, add 1 teaspoon of cream at a time until you reach the desired consistency.
Step 5: Glaze and Set
Take a slightly warm donut hole, gently dip the top half into the glaze, and lift it straight up. Let the excess glaze drip back into the bowl. Place the glazed donut hole back onto the wire rack (place parchment paper under the rack to catch the drips).
Let them set for 5–10 minutes until the glaze becomes firm and glossy, just like in your photo.
Pro Tips for the Perfect Glaze
· The “Thump” Test: You want the glaze thick enough that it doesn’t run entirely off the donut but thin enough that it settles into a perfectly smooth dome. If you dip your finger in, the glaze should coat it thickly, not be translucent.
· Eat warm: While they are delicious at room temperature, these donut holes are absolute heaven while the dough is still warm and the glaze is just starting to set.
· Storage: These are best eaten the day they are made. Store leftovers in an airtight container for up to 24 hours, though the glaze will soften over time.