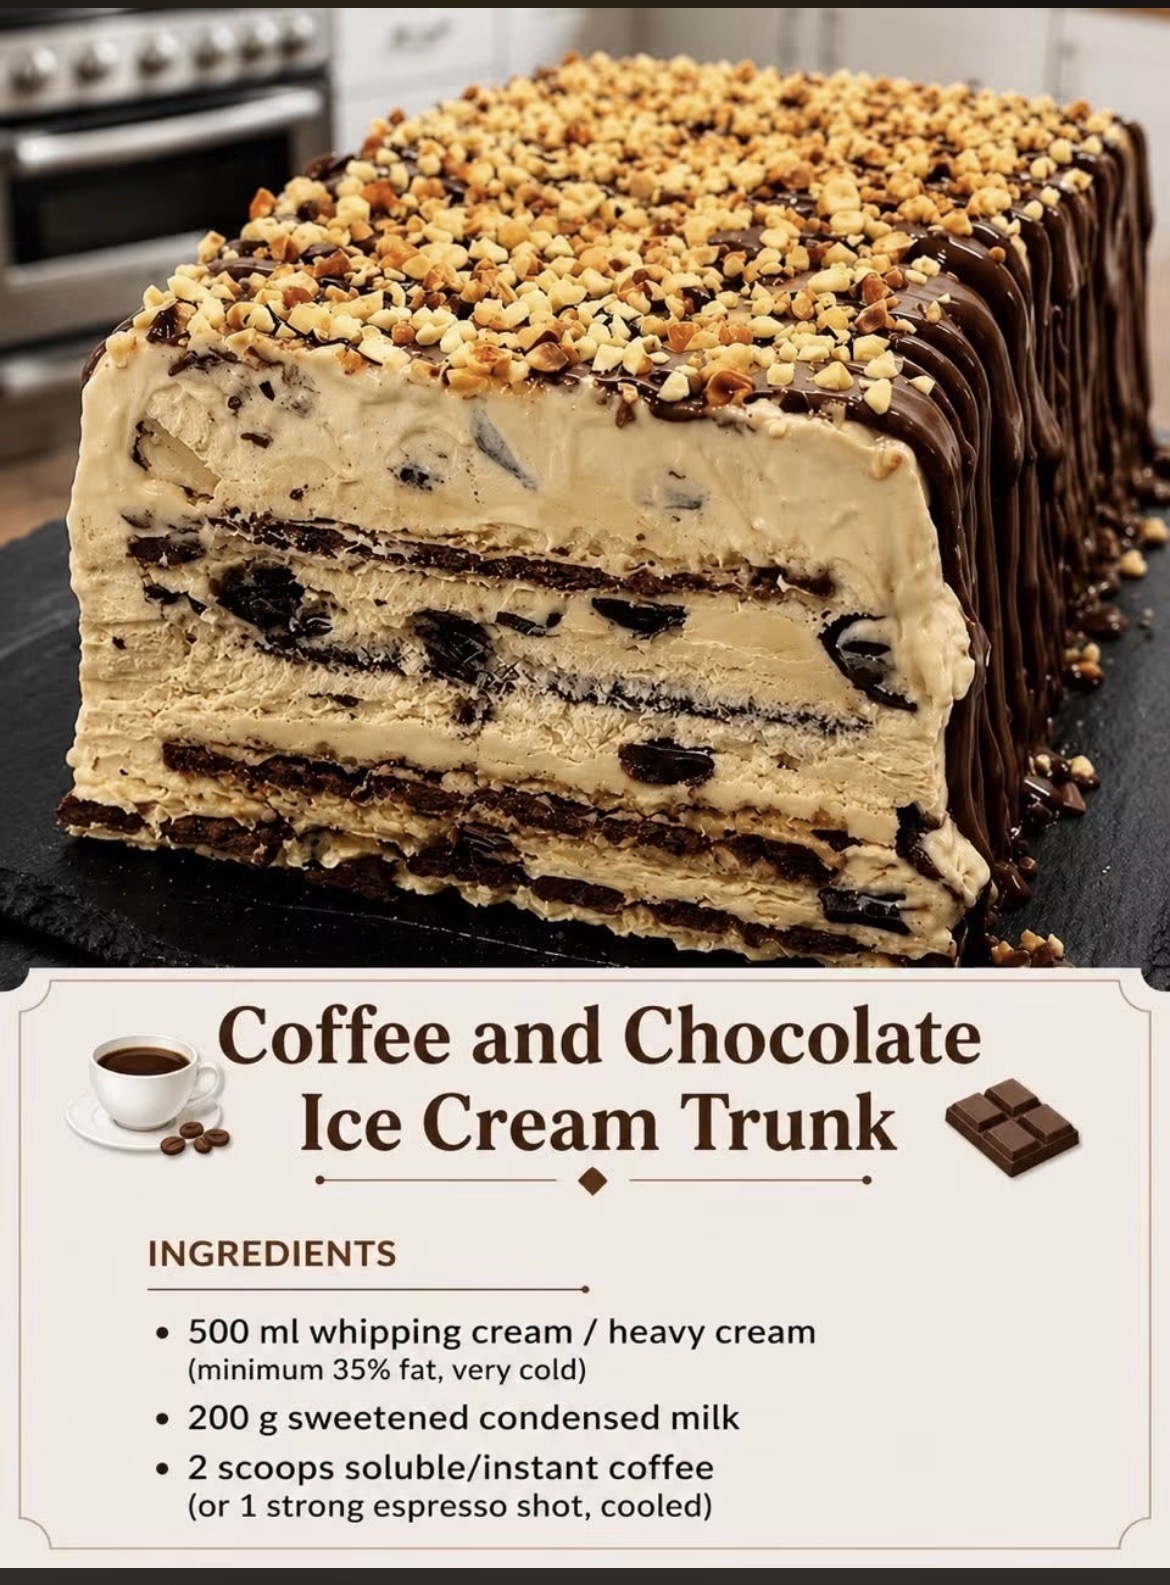
There is something deeply satisfying about making rich, creamy ice cream without needing a special machine. This recipe for a Coffee and Chocolate Ice Cream Trunk is the perfect solution for hot days when you crave a decadent frozen treat. It combines the deep, roasted notes of coffee with the bittersweet richness of dark chocolate, all wrapped up in a beautifully marbled “trunk” log.
The magic lies in the simplicity of the ingredients. By whipping very cold heavy cream and folding it into sweetened condensed milk, you create a base that is impossibly smooth and luscious—no churning required. This method relies on the fat content to trap air and freeze without forming large ice crystals. In this version, we take it a step further by creating two contrasting batters: a creamy vanilla-coffee base and a rich, dark chocolate one. Layered and swirled together, they freeze into a stunning pattern that looks like a rustic tree trunk, making this dessert as beautiful as it is delicious.
Full Recipe: Coffee and Chocolate Ice Cream Trunk
Yield: 1 loaf (approximately 8-10 servings)
Prep time: 20 minutes
Freezing time: Minimum 6 hours or overnight
INGREDIENTS
For the Coffee Base:
· 250 ml whipping cream / heavy cream (minimum 35% fat, very cold)
· 100 g sweetened condensed milk
· 2 scoops soluble/instant coffee (or 1 strong espresso shot, cooled completely)
For the Chocolate Base:
· 250 ml whipping cream / heavy cream (minimum 35% fat, very cold)
· 100 g sweetened condensed milk
· 50 g dark chocolate (70% cocoa), melted and slightly cooled
· 2 tablespoons unsweetened cocoa powder, sifted
For the Decoration (Optional):
· 30 g dark chocolate, melted (for drizzling)
· Crushed chocolate cookies or espresso beans
INSTRUCTIONS
- Prepare the Coffee Base:
· In a large mixing bowl, combine the 250 ml of very cold whipping cream, 100 g of sweetened condensed milk, and the 2 scoops of instant coffee (or the cooled espresso).
· Using an electric hand mixer or a stand mixer with a whisk attachment, beat on medium-high speed until stiff peaks form. This means the mixture should hold its shape when you lift the beaters. Be careful not to over-whip, or it will turn to butter. Set the bowl aside in the refrigerator.
- Prepare the Chocolate Base:
· In a separate large mixing bowl, combine the remaining 250 ml of very cold whipping cream and 100 g of sweetened condensed milk.
· Add the sifted cocoa powder and the melted (but cooled) dark chocolate.
· Beat with a clean whisk attachment on medium-high speed until stiff peaks form. The chocolate will give this base a firmer texture.
- Layer the Ice Cream Trunk:
· Line a 9×5-inch (23×13 cm) loaf pan with parchment paper, leaving some overhang on the sides to help you lift the ice cream out later.
· Spoon half of the coffee base into the bottom of the loaf pan and smooth it into an even layer.
· Next, spoon half of the chocolate base over the coffee layer and gently spread it.
· Repeat with the remaining coffee base, and then the remaining chocolate base.
· Create the Marble: To achieve the “trunk” effect, take a butter knife or a skewer and gently swirl it through the layers in a zig-zag motion. Do not overmix—you want distinct ribbons of coffee and chocolate.
- Freeze:
· Cover the loaf pan with plastic wrap or foil and place it in the freezer. Freeze for at least 6 hours, or preferably overnight, until completely firm.
- Serve:
· To serve, remove the loaf pan from the freezer. Let it sit at room temperature for 5 minutes. Use the parchment paper overhang to lift the entire block out of the pan.
· Place it on a serving platter. For a decorative finish, drizzle with melted dark chocolate and sprinkle with crushed chocolate cookies or coffee beans.
· Slice with a sharp knife dipped in hot water (and wiped dry) for clean cuts. Serve immediately.
Chef’s Tip: For an extra indulgent twist, fold 50 g of chopped dark chocolate chips or crushed chocolate-covered espresso beans into the coffee base before freezing.