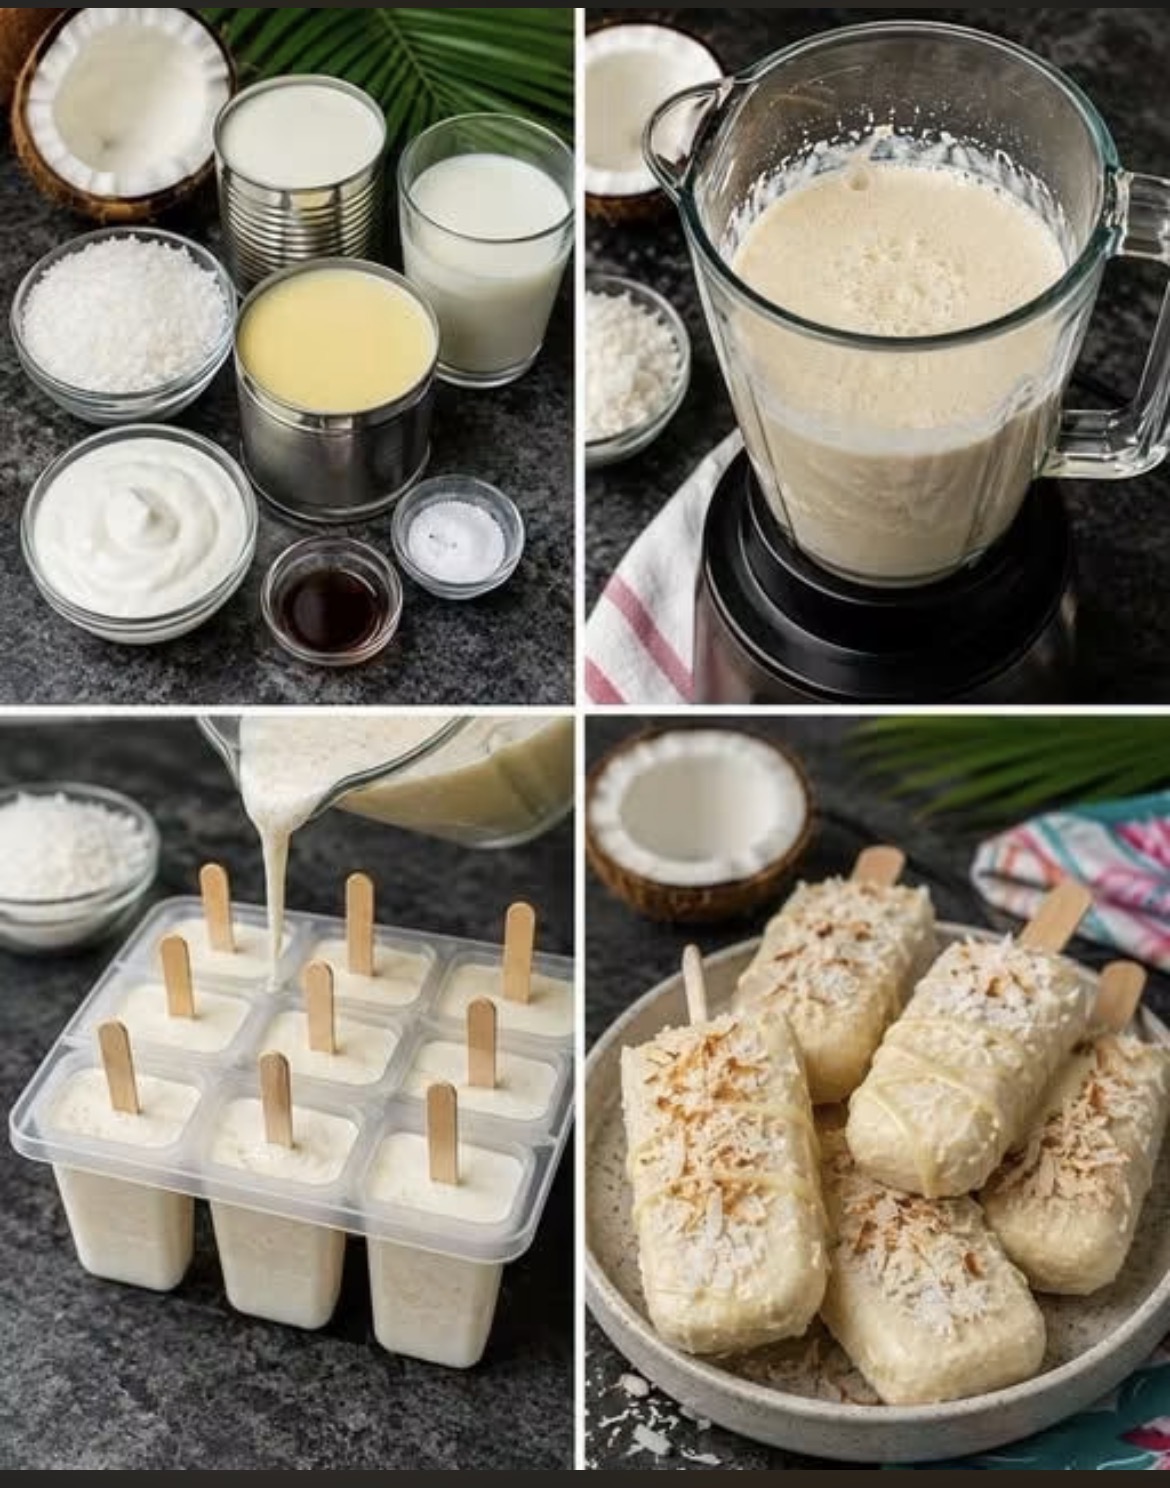
There is nothing quite as refreshing on a hot summer day as a creamy, frozen treat. While ice cream is a classic, these Creamy Coconut Popsicles offer the perfect balance—they are dairy-free (or easily adaptable), intensely flavorful, and much lighter than heavy ice cream.
Inspired by tropical flavors, this recipe takes simple pantry staples and transforms them into a dessert that tastes like a vacation in the Caribbean. Using a blend of coconut milk and cream, we achieve a rich, velvety texture that mimics the “ice cream” mouthfeel without the heaviness. The toasted coconut garnish adds a crucial crunch that elevates these popsicles from simple to spectacular. They are incredibly easy to make, requiring only a blender and a mold, making them the perfect activity for a sunny afternoon.
Full Recipe: Creamy Coconut Popsicles
Prep Time: 10 minutes
Freeze Time: 4 to 6 hours (or overnight)
Yield: 10 standard-sized popsicles
Ingredients
· 1 can (13.5 oz / 400 ml) Full-Fat Coconut Milk: Crucial for creaminess; do not use light coconut milk.
· 1 can (11 oz / 320 ml) Coconut Cream: Adds the thick, rich texture. (If you cannot find coconut cream, you can use 1 full can of coconut milk plus the heavy cream option below).
· ½ cup (120 ml) Whole Milk or Dairy-Free Milk Alternative: Oat milk or almond milk works well.
· ½ cup (100 g) Granulated Sugar: Or use ⅓ cup maple syrup or honey for a more natural sweetener.
· 1 teaspoon Vanilla Extract: Enhances the coconut flavor.
· Pinch of Salt: Balances the sweetness.
· For the Garnish (Optional but recommended):
· ¾ cup Toasted Shredded Coconut (unsweetened)
· 10 Popsicle sticks
Equipment
· Blender
· Popsicle mold (10-cavity)
· Measuring cups and spoons
Step-by-Step Instructions
Step 1: Prepare the mixture
In a high-speed blender, combine the coconut milk, coconut cream, milk (or dairy-free alternative), sugar, vanilla extract, and salt. Blend on medium-high speed for about 1 minute, or until the mixture is completely smooth and the sugar has dissolved. Taste the mixture and adjust the sweetness if needed.
Step 2: Fill the molds
Place your popsicle mold on a flat, stable surface in your freezer. Carefully pour the blended coconut mixture into each cavity, filling them to the top. Leave just a tiny bit of space (about ⅛ inch) for expansion.
Step 3: Insert the sticks
Gently press a wooden popsicle stick into the center of each filled cavity. If your mold has a lid, place it on top to hold the sticks upright. If not, the mixture should be thick enough to hold the sticks relatively straight, but you can cover the mold with plastic wrap and poke holes for the sticks.
Step 4: Freeze
Place the mold in the freezer and freeze for at least 4 to 6 hours, preferably overnight. The popsicles must be completely solid before you attempt to unmold them.
Step 5: Unmold
To remove the popsicles, fill a large bowl or your sink with warm (not boiling) water. Dip the base of the mold into the warm water for about 10–15 seconds, being careful not to let the water get into the popsicles. Gently wiggle the sticks to loosen them, and pull the popsicles out straight.
Step 6: Garnish and Serve
Place the toasted shredded coconut on a flat plate. Quickly roll the bottom half (or the whole) of each popsicle in the coconut, pressing lightly so it sticks. Serve immediately, or place them on a parchment-lined baking sheet and put them back in the freezer to firm up again before storing in an airtight container.
Chef’s Tips for the Best Popsicles:
· Don’t skip the salt: A pinch of salt doesn’t make it salty; it enhances the natural flavor of the coconut and balances the sweetness.
· Toasting the coconut: If you are starting with raw shredded coconut, spread it in a single layer on a baking sheet. Bake at 325°F (160°C) for 3–5 minutes, watching closely, until it is golden brown. Let it cool completely before you roll the popsicles in it, or the heat will melt the popsicles immediately.
· Mix-ins: Feel free to fold in some fresh pineapple chunks or dark chocolate chips into the mixture before freezing for a tropical piña-colada twist.