By Your Resident Home Chef
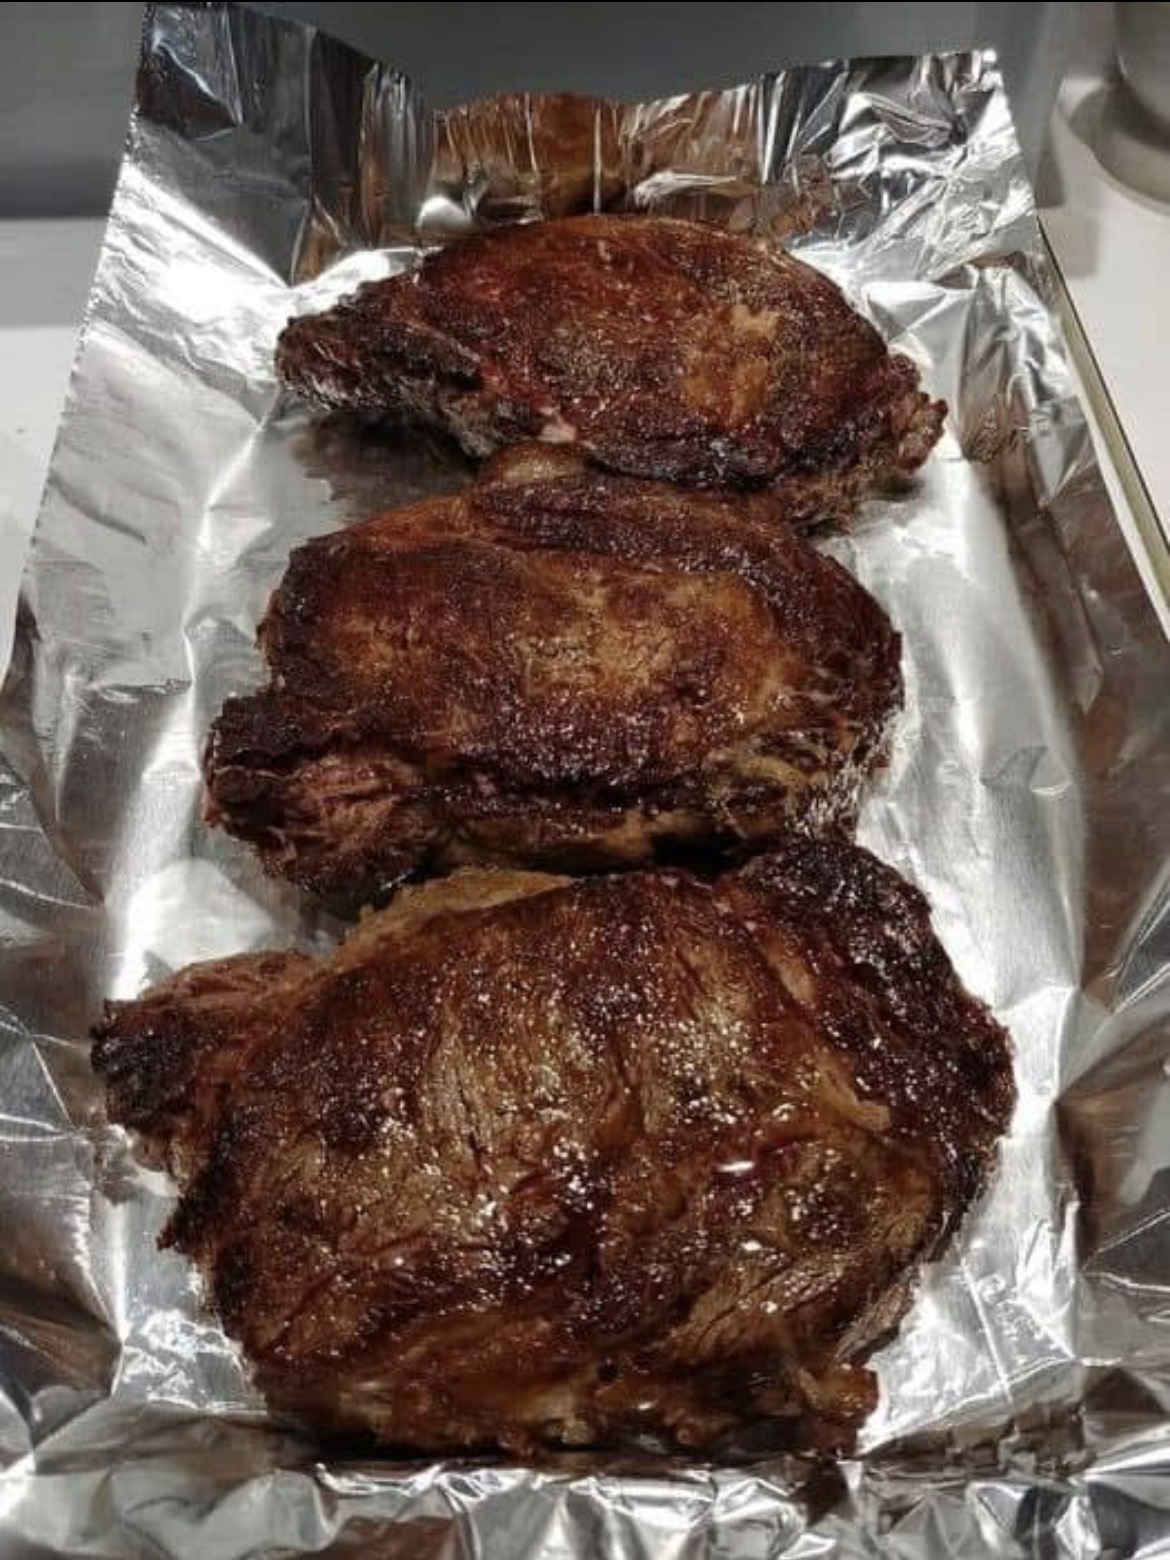
There is a moment of culinary magic that happens when fat renders, proteins brown, and sugar caramelizes. It’s called the “Maillard reaction,” and the steaks in the photo above are a textbook example of it.
Cooking thick cuts of pork (especially from the shoulder) can be intimidating because they are tough if cooked too fast and dry if cooked too lean. However, the recipe below solves that problem by utilizing a two-phase cooking method.
Phase 1: The Braise/Low Roast. We cook the meat at a lower temperature first. This allows the collagen in the meat to break down into gelatin, making the pork incredibly tender and juicy. It also allows the excess fat to render out, reducing greasiness.
Phase 2: The Crank. We blast the temperature. We want that dark, deep brown crust—like the ones sitting on the foil in your photo. This ensures the outside is crispy and savory while the inside remains pull-apart tender.
The result is a meal that looks like you spent all day smoking it, but it’s actually quite simple to do in a standard home oven. Let’s get cooking.
Full Recipe: Crispy Caramelized Pork Steaks
Prep time: 10 minutes (plus 2 hours to overnight for marinating)
Cook time: 2 hours 15 minutes
Yield: Serves 4
Ingredients
· 4 thick-cut boneless pork steaks (shoulder steaks preferred, about 1.5 inches thick; works best with fatty cuts like Boston Butt)
· 2 tbsp olive oil (or vegetable oil)
· 2 tbsp brown sugar (packed light or dark)
· 1 tbsp smoked paprika (gives that smoky, “bark” color)
· 1 tbsp garlic powder
· 1 tbsp onion powder
· 2 tsp kosher salt (do not use table salt, it will be too salty)
· 1 tsp freshly ground black pepper
· 1 tsp cayenne pepper (optional, for heat)
· ½ cup apple juice or chicken broth (for moisture in the pan)
Instructions
Step 1: The Dry Rub
In a small bowl, combine the brown sugar, smoked paprika, garlic powder, onion powder, salt, black pepper, and cayenne (if using). This sweet-and-spicy mix is what creates that dark, sticky crust in your photo.
Step 2: Season the Meat
Pat the pork steaks completely dry with a paper towel. This removes surface moisture, which is crucial for browning, not steaming. Rub the olive oil over both sides of the meat. Generously massage the dry spice rub into every surface of the pork steaks.
Step 3: Marinate (Crucial for Flavor)
Place the seasoned steaks on a plate, cover with plastic wrap, and place in the refrigerator. Let them sit for at least 2 hours, or ideally overnight. This allows the salt to penetrate the meat and the sugar to slightly cure the surface.
Step 4: The Low Phase
Preheat your oven to 325°F (163°C).
Line a baking sheet or shallow roasting pan with aluminum foil—just like in the photo. Place a wire baking rack on top of the pan (if you don’t have a rack, just lay them directly on the foil).
Arrange the steaks on the rack/foil. Pour the ½ cup of apple juice or broth into the bottom of the pan (this creates steam to keep them moist).
Place the pan in the oven and bake for 1 hour and 45 minutes. The meat will shrink slightly and become very tender.
Step 5: The High Phase (The “Crisp”)
Remove the pan from the oven. Carefully drain off most of the liquid from the bottom of the pan (be careful, it will be hot).
Turn the oven up to 450°F (230°C) or turn on the broiler.
Return the steaks to the top rack of the oven. Cook for an additional 10 to 15 minutes, watching them closely. You want the top to turn a deep mahogany brown and slightly crisp up, exactly like the image.
Step 6: Rest & Serve
Remove the steaks from the oven. Do not slice them immediately. Let them rest on a cutting board for 10 minutes. This allows the juices that have pooled in the middle to redistribute throughout the meat.
Serve: Slice against the grain or serve whole with a side of mashed potatoes, grilled vegetables, or a simple vinegar slaw to cut through the richness.
Pro Tip: If the bottom looks pale when you flip them over after resting, simply place them back under the broiler for 2 minutes per side for an all-over crust