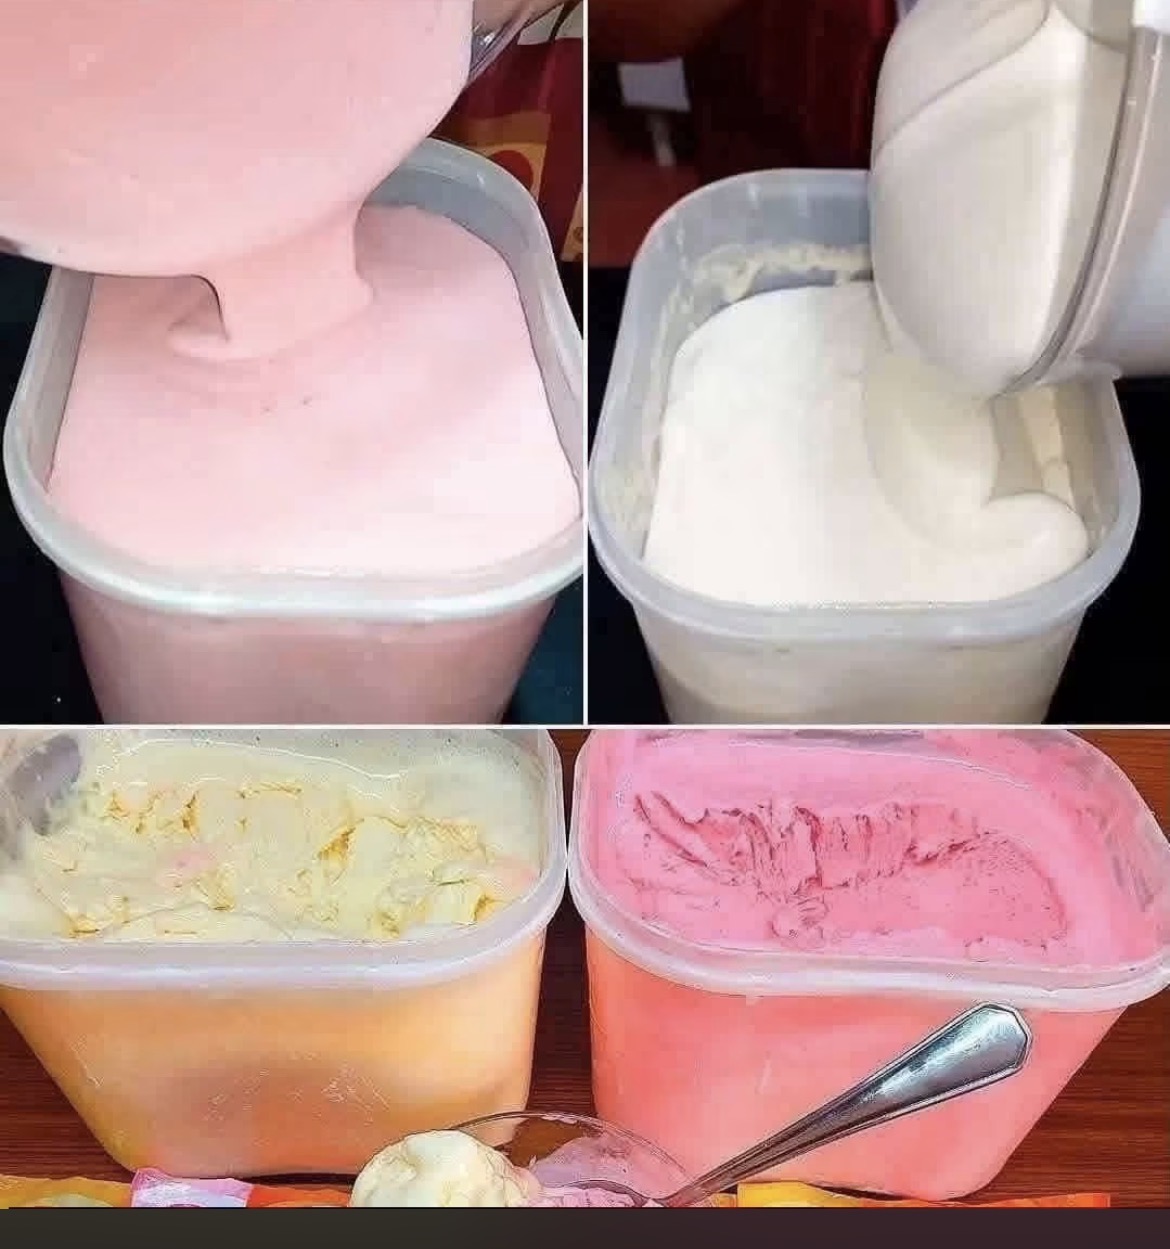
This recipe uses a No-Cook, No-Egg base, making it incredibly quick to prepare. It yields a rich, creamy texture because of the heavy cream and sweetened condensed milk.
Yield: Approximately 1.5 quarts per flavor.
Prep time: 15 minutes | Freeze time: 4–6 hours.
Ingredients
For the Vanilla/White Base (Top Right & Bottom Left):
· 2 cups (480ml) Heavy whipping cream (cold)
· 1 can (14 oz / 396g) Sweetened condensed milk
· 1 tablespoon Pure vanilla extract (or vanilla bean paste)
· Optional: A pinch of salt
For the Pink Strawberry Base (Top Left & Bottom Right):
· 2 cups (480ml) Heavy whipping cream (cold)
· 1 can (14 oz / 396g) Sweetened condensed milk
· 1 teaspoon Vanilla extract
· 1 ½ cups Fresh or frozen strawberries, pureed (about 8–10 large berries)
· Optional: 2–3 drops of pink food coloring (to match the bright color in the photo)
Step-by-Step Instructions
Phase 1: Prepare the Flavors
- Strawberry Puree: If using fresh strawberries, hull them. If using frozen, thaw them. Put the berries in a blender or food processor and blend until completely smooth. Set aside. (Note: If you want chunks of fruit in your ice cream, you can fold in ½ cup of diced strawberries after churning).
- The Sweetener Base: In a large mixing bowl, whisk together the sweetened condensed milk and vanilla extract.
· For Vanilla: Keep this base as is.
· For Strawberry: Pour half of this sweet milk mixture into a separate bowl and whisk in your strawberry puree and pink food coloring (if using).
Phase 2: Whip the Cream
(This is the most important step for the “pourable” look in the top photos).
- In a large, cold mixing bowl, pour the cold heavy whipping cream.
- Using a hand mixer or stand mixer with the whisk attachment, beat on medium-high speed until stiff peaks form. This means when you lift the whisk, the cream stands up straight without flopping over. Do not over-mix, or you’ll make butter.
Phase 3: Combine and Pour
- Fold, Don’t Stir: Gently take your whipped cream and fold it into your sweetened condensed milk mixture (for both the vanilla and strawberry batches).
· Tip: Use a rubber spatula and scoop from the bottom up, turning the bowl. Do this slowly until the white streaks disappear. You should have a thick, airy, pourable batter. - Pour into Containers: Take your plastic tubs (like the ones in your photo) and pour the mixture in. Tap the tubs firmly on the counter a few times to remove any trapped air bubbles.
Phase 4: The Final Freeze
- Place the lids on the tubs (or cover tightly with plastic wrap).
- Place them in the flatest part of your freezer (not on the door, as the temperature fluctuates too much there).
- Freeze for at least 4 to 6 hours, or preferably overnight.
Secrets to Get the Exact Result in the Photo
· Why pour it before freezing? This is key. If you put it into the machine ice cream maker first, it will churn and become thick (soft-serve consistency) before going into the tub.
· Why is the strawberry pinker? In the photo, the pink is very uniform and bright. Commercial ice cream uses a tiny drop of red/pink food coloring. If you use only pureed berries, the ice cream will be a paler, milky pink. To get that neon pop, use a single drop of gel food coloring.
· Storage: To keep it scoopable and avoid ice crystals, press a piece of parchment paper directly onto the surface of the ice cream before putting the lid on.
How to eat it: For the ultimate experience, let the container sit out on the counter for 5 to 10 minutes before scooping. This softens it to the perfect consistency you see in the bottom photos.