There are few things in life more comforting than a grilled cheese sandwich. But let’s be honest: we’ve all had a bad one. Soggy bread, cold cheese that refuses to melt, or—worst of all—a burnt crust with an icy center.
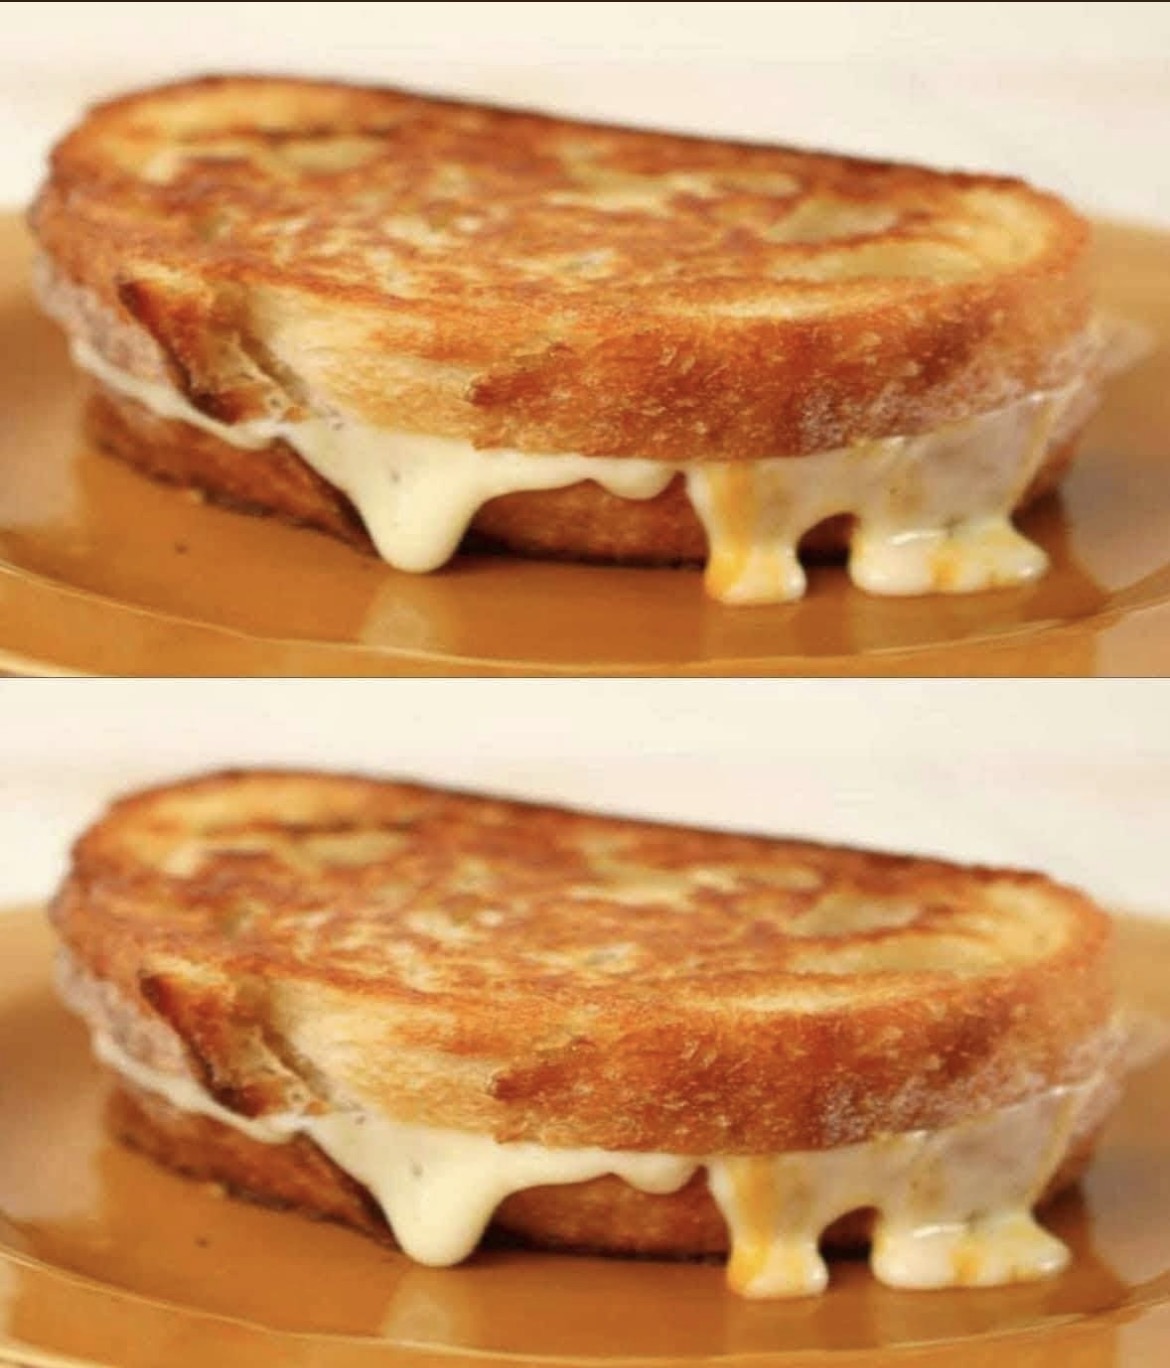
The sandwich in the photo above represents the holy grail: deep golden-brown toast, a unified crispy crust, and cheese that oozes out like a decadent waterfall. It is not complicated to make, but it does require technique. Forget the microwave. Forget spreading butter on cold bread. Here is everything you need to know to achieve grilled cheese perfection.
The 3 Golden Rules of Grilled Cheese
- Low and Slow: High heat is the enemy. If you crank the burner, the bread will burn before the thick chunks of cheese have a chance to melt all the way through. Patience is key.
- Room Temperature Cheese: Cold cheese straight from the fridge takes forever to melt. Let your cheese sit out for 10-15 minutes before building the sandwich.
- Mayonnaise is the Secret: While butter gives it flavor, mayonnaise has a higher smoke point and spreads much easier. It creates a flawless, golden-brown crust that is often crispier than butter alone.
The Ultimate Classic Grilled Cheese Recipe
Yield: 1 sandwich (Easily doubled)
Prep time: 5 minutes
Cook time: 8 minutes
Ingredients
· 2 slices of thick-cut bread: Sourdough, Texas Toast, or soft white bread (like Brioche) works best. Avoid pre-sliced sandwich bread as it’s too thin and flimsy.
· 2 oz (about 4 slices or ½ cup shredded) Cheese: Use a combination. For the best melt, use 1 part Sharp Cheddar (for flavor) and 1 part Monterey Jack, Gouda, or Mozzarella (for that stretchy, gooey melt shown in the photo).
· 1 tablespoon Mayonnaise (Full-fat is best)
· 1 teaspoon Unsalted Butter (Optional, for added flavor)
· Pinch of Salt (Optional, but recommended)
Step-by-Step Instructions
Step 1: Prep the Bread and Cheese
Place your two slices of bread on a cutting board. If your cheese is not already shredded or sliced thin, prepare it now. Let the cheese sit at room temperature.
Step 2: The “Mayo-Spread”
Take your mayonnaise and spread a generous, even layer (about ½ tablespoon) over the outside of one slice of bread. Do the same for the outside of the second slice. (Note: We do not butter the inside of the bread).
Step 3: Build the Sandwich
Lay one slice of bread mayo-side down on your work surface. Pile your shredded cheese on top. For the perfect drip effect (like in the photo), make sure the cheese comes right to the very edges—let it spill over a little if needed. Place the second slice of bread on top, mayo-side up.
Step 4: Preheat the Pan
Place a non-stick skillet or cast-iron pan over medium-low heat. Wait 1 minute for it to get hot. Do not turn the heat up.
Step 5: The Cook (The Secret Step)
Carefully place the sandwich into the dry pan (the mayonnaise acts as your cooking fat).
· Cook for 3 to 4 minutes without touching it. Wait until the bottom is deep golden brown.
· Optional: If you want the butter flavor, add the teaspoon of butter to the pan right next to the sandwich now. As it melts, tilt the pan to bathe the crust in it.
Step 6: The Flip
Using a spatula, gently flip the sandwich to the other side. If the cheese hasn’t started melting yet, that’s okay.
· Cook for another 3 to 4 minutes. You want the second side to match the first in golden, crispy perfection.
Step 7: The “Cheese Sweat” (Crucial for the photo)
If you notice the cheese inside is still not completely melted by the time the bread is golden, do not keep cooking the bread or it will burn. Instead, turn the heat off, cover the pan with a lid, and leave it for 1 minute. The residual heat will steam the inside and finish melting the cheese down to that gooey, dripping texture without burning the crust.
Step 8: Serve Immediately
Remove the sandwich from the pan. Place it on a wire rack for 30 seconds (this prevents steam from making the bottom soggy). Then, cut it diagonally (it looks cooler that way) and serve immediately.
Pro Tips for the “Drip” Effect
· Use a lid: As mentioned, covering the pan at the end guarantees the deep internal melt while keeping the crust perfect.
· Oversize the cheese: Do not skimp. Use more cheese than you think you need, and let it hang off the sides of the bread slightly. When it melts down, it will pool onto the pan and create that satisfying drip.
Enjoy your masterpiece!